I have been obsessed with…enjoying making hoop art so I haven’t really had anything new to post.
After making a bunch I had to organize my supplies and figure out better ways to store things. I had been keeping my felt in a small storage box and my needles in a 1/2 cup gladware container. Neither one was working.
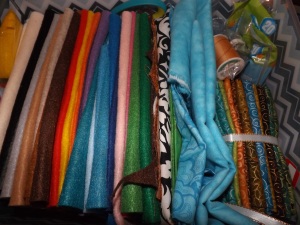
The fabric storage issue was easily fixed by spending $6 on this beauty!
Just look at all that fabric and felt goodness!
Well, I said I was a bit obsessed.
The other problem I had was keeping track of my pins and needles. My method of storage left much to be desired. The cover on the gladware was hard enough to get on and off that I was either not getting it on there all the way or making a sharp thing explosion when I pulled it off. Since this made putting away pins mid project fairly difficult I had gotten in the habit of sticking then into the arm of the chair I was sitting in or on the back of the couch or into the excess fabric of the project. This would tend to result in scratches and/or lost needles.
I needed a pincushion.
I looked at the craft store, but the only pincushion they had was one you could wear on your wrist. Handy, but I wasn’t going to pay $10 for it. Then I remembered seeing something like this from Megan Neilson.
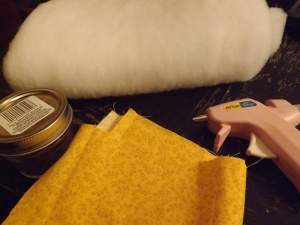
Of course I didn’t bother to look up the instructions. I did remember to but a small mason jar though and since I already had fabric and some batting I figured I was all set.
The first thing I did was cut some batting to fit on top of the cover. I cut two layers.
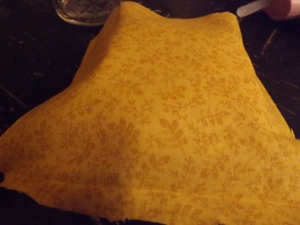
Then I laid the fabric over the top…
pulled it around and attempted to glue it.
I have a few tips for you. First trim your fabric but make sure you leave enough so you can glue it beyond where the lid seal (the orange bit) is. If you get glue on the seal part the lid will not screw on correctly. Screwing (ha!) will also be a problem if there is too much batting in that area. I ended up having to trim about 1/2″ of batting off so the cover would fit. Of course I didn’t find out my cover didn’t fit until after I’d glued it. This necessitated ripping the thing apart, trimming, re-gluing and questioning my own sanity.
In the end it did come out though.
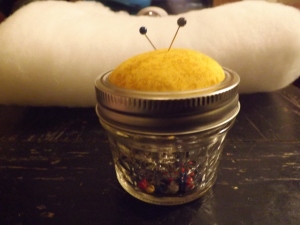
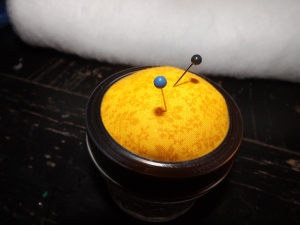
All the sharp things fit neatly inside and there is even room in there for a spool of thread if I’m on the road. Also, since the cover screws on instead of snapping on there are no more pin explosions!
I’m pretty happy with it!

